Inserting Tables |  |
Where to use a table
A table is used when you would like to position items in columns or rows. They are also handy to ensure that images or text are aligned correctly to each other. There are a lot of different browsers out there and they all read content with a slightly different interpretation. To eliminate confusion between browsers use a table when you are whenever you are wishing to align items with each other in a page. When using a table you need to make it as simple as possible for the browser to understand. More complex layouts will consist of many tables inside each other with multiple cells that create the end look you are creating.
Inserting a simple table
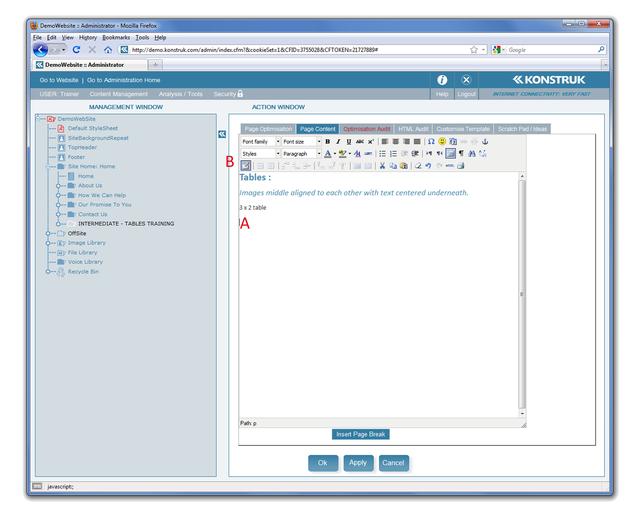
- Place your cursor anywhere within the page content of the Page Content Tab
- Select the “Inserts a new table” button from the tool bar.
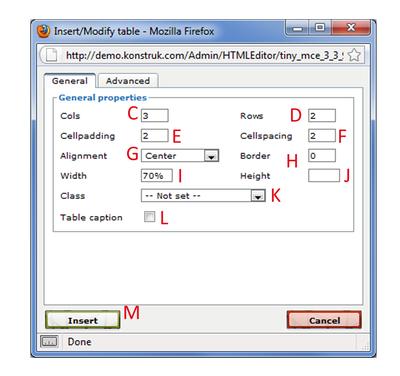
- Enter how many columns you want
- Enter how many rows you want
- Cellpadding - padding is on the inside of the cell, i.e. between your text/image and the edge of the cell. This defaults to 1px, if you wish your text to be in line with any text outside of the table you will need to place a “0” into this, if you wish to have a border and a gap between the border and the text, try placing “5” in this box.
- Cellspacing - spacing is on the outside of the cell, i.e. between any normal text outside of the table and the table itself as well as the gap between cells. This defaults to 1px, if you wish your text to be in line with any text outside of the table you will need to place a “0” into this, if you wish to have a gap between two cells or further away from normal text, try placing “5” in this box.
- Alignment - do you wish your whole table to be centre, left or right aligned on the page.
- NB/ recommended to have this as “--Not set --“ if you wish a left aligned table or your table is 100% (full width of site)
- Border - defaults to “0”, if you wish to have the defaulted style of border place a 1 in this box.
- NB/ we will show you how to have more control of your borders - see page 35
- Width - tables should be written in with a % of the width that you wish the table to take up of your website. e.g. 100% for the full content width, 50% for half, 75% for 3 quarter, etc
- Height - this is easiest referred to in pixels, normally this would be left blank and is dictated by the height of text or image
- Class - use this if you have had a specific style that you use regularly set up by you developer
- Table caption - leave un-ticked
- Select Advanced Tab - no necessary if you do not require any additional features.


