Resizing and / or Changing Images |  |
Once you have inserted an image into your page you must change the size or the image itself by editing the image node. This way the positioning, linking and roll overs will remain the same without you having to edit the page content.
- NB/ you will need to remember which image inserted you have used in your page. i.e. Thumbnail->Normal?, Normal?, Thumbnail? , thus you need to ensure that the image you alter in your image node is the right one.
Ensure that your image node is in draft mode ... it may be necessary to reset to draft or create a new version of the page that the image node is sitting on.
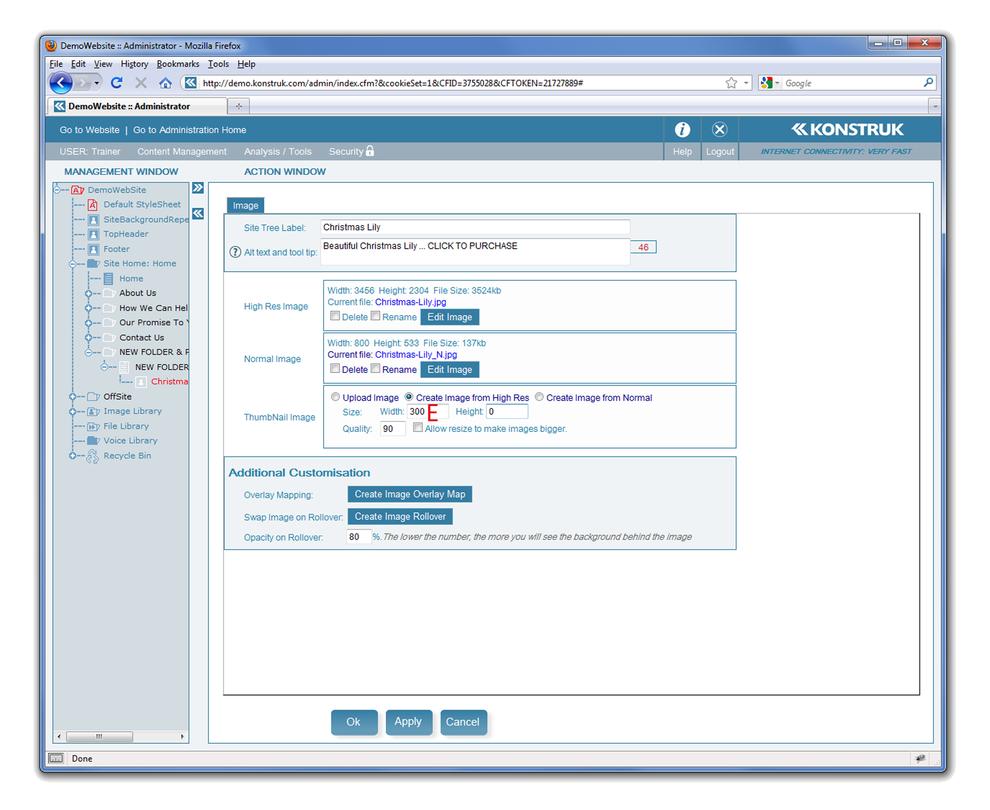
Highlight the drafted image node and select "Edit" to take you back into your Image Upload screen.
- Select the Edit Image button
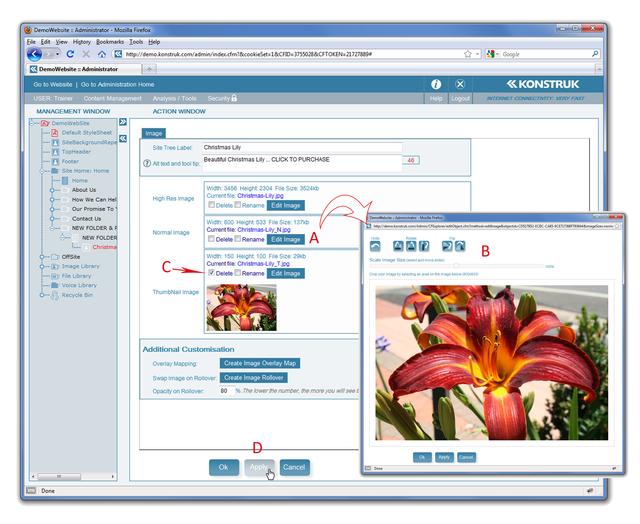
- The box that will pop up will allow you to do the basic editing to an image. You can flip, rotate, resize and crop the image within this box.
- NB/ each image, e.g. High Res, Normal & Thumbnail are edited individually from each other.
- To delete the image altogether you can select the Delete tick box on the one you wish to delete
- When you select Apply it will take you back to where you can upload a new image or recreate it from an existing image within the node.
- TIP/ if you would like to use the Edit Image box and alter all images within the file, then edit the High Res image, delete the Normal and Thumbnail and then apply to recreate the Normal and Thumbnail from your High Res Image again.

- This is another way that you can resize your image. After applying your deletion you can over type the width or height of your image and then hit apply again.
- REMEMBER/ you need to republish all nodes to have it show up on the website.