Image Placement within your page |  |
When an image is inserted into the page, it defaults to being left aligned and no text wrapping. You can rectify this by doing the following.
Aligning Image

- Select your image - you should see little boxes (handles) around the image.
- Choose your preferred alignment, in this instance right aligned
- You will see your image swap to the right of your body content
- NB/ the text will still be very close to the image
- NB/ double check that with aligning your image it hasn't accidently removed a line within you content
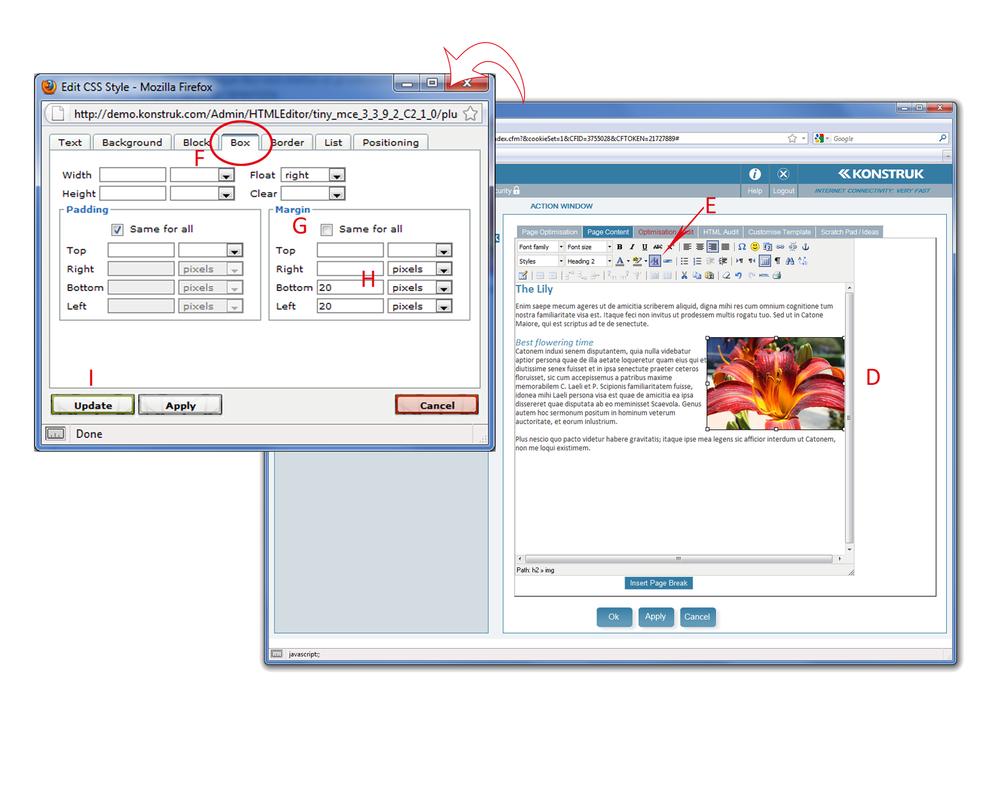
Creating a gap (margin) between the image and text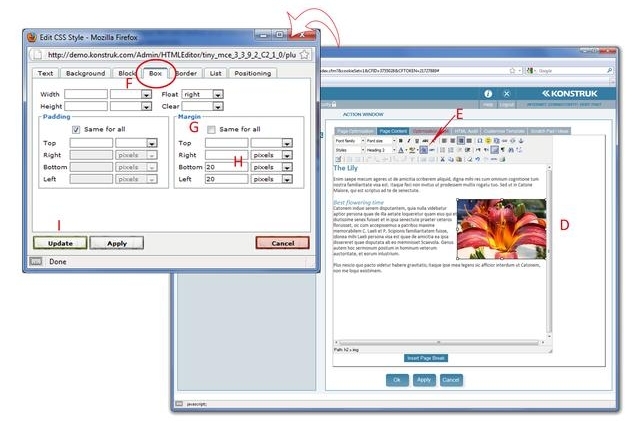
- Select your image
- Select the Edit CSS Style from the editor toolbar
- In the pop up box - go to the Box Tab
- NB/ There is a lot of things you can do in this pop up box, for this example we are only dealing with the Box tab.
We are creating a margin from the edge of the image to the edge of the text. You may wish to have it the whole way around your image, but for this example we are only going to margin the left and bottom of the image.
- Untick the Same for all box
- In the required boxes place the amount of space you wish
- Tip/ 20 pixels is a nice distance for the eye to distinguish
- Select Apply and the pop up box will remain open and you can see the change within your editor. Or select OK if you are confident and the pop up box will disappear.
Image placement within the page
This is as simple as clicking and dragging it. Depending on the browser that you are using, the easiest way is to look for the cursor shifting position within you page and not just where you are dragging the image to. Trial and error with image placement is the easiest way to learn.